Showing posts with label sew fun for kids. Show all posts

Wednesday, September 3, 2014

Project #8: Easy Baby Dress

Who: This one is for my newest niece.  I used the same fabric earlier on the party dress (project #2).  I thought the two girl cousins might enjoy being twins.  Or at least the four year old might.  I'm not sure that the littlest one will be aware or care.  :)

What: I was originally going to use the Itty Bitty Baby Dress by Made by Rae, but changed my mind.  It's super adorable, but I wanted something with fixed straps.  Because of this, I ended up using See Kate Sew's Easy Baby Dress Pattern.  What I liked more about this option was the fixed straps which (bonus!) have elastic in them.  That should still make this one easy to get on and off baby.

Although I followed Kate's tutorial, I did make one significant change.  I cut the bodice pieces 1/2 inch longer, so that I could fold them under and sew the skirt bottom between the layers.  Basically, I took what I learned while sewing the party dress and applied it here.  It was more work, but I like this finish better.  I also top-stiched around the bodice (which I don't think is listed in the tutorial).

Cost: Almost nothing.  I had leftover fabric and thread on hand from the earlier dress.  All I needed to buy for this project was the elastic.  I paid $2.50 for a package at Joann's.

Monday, September 1, 2014

Project #7: The Gobble Gobble Turkey Shirt

photo 2I know it's September 1st.  But... it's Labor Day.  So it's kind of fitting (right???) to start the sharing of the last of my Sew Cheap Summer Challenge projects.

Confession: August got away from me.  It was busier than I had anticipated.  When I last posted in July, I thought it would be a breeze to finish this challenge.  But that was not the case.  For almost the entire month, I lost my sewing mojo.  But it's back.  And I just spent this long weekend catching up on my sewing.  Today, I have the first of my final four projects to share with you- the Gobble Gobble Turkey Shirt.

Who: This is for a niece.

What: My inspiration for the project was this shirt by The Cottage Mama.  I drafted my own pattern pieces which ended up being super easy.

I bought the t-shirt at Hobby Lobby a few weeks ago and then used different scraps of fabric for the feathers and body.  It was a great scrap-busting project.  In addition, I believe I sent this same niece the striped skirt (project #1), so she should be able to wear the two together.  Happy coincidence!

Cost: The shirt was clearances for $2.  I had the fabric, thread, and interfacing already.

Monday, July 21, 2014

Where Have I Been?

Well, I got side tracked.  I was looking around online last week and got caught up in a series of posts Jess at Craftiness Is Not Optional did on making Barbie® clothes.  Her sewing ideas were super straight forward and seemed easy to do.  And it looked like a great way to bust through my stash of fabric scraps.

Ok, time for a confession.  I was so smitten that I went out and bought a Barbie® just so I could sew her clothes!  I know, I know... it's terrible.  I have since learned, though, that my niece does indeed like to play with Barbies®, so I have someone to gift this doll and wardrobe to.  Whew....  
First up, I started with Jess's ideas for making a dress with darts and a velcro enclosure.  So easy.  And look how cute it turned out!  The belt is made from bias tape and black felt.  I think she looks ready to hit the beach in this dress.

But maybe Barbie® isn't headed to the beach today.  Maybe, instead, she just wants to do some shopping in Santa Barbara.  (Ok, maybe it's just me who wants to do some shopping in Santa Barbara.)  Well, she'll need a cute skirt and tank top for that.  And a cute purse- a must!!  I used Jess's tutorial for both the skirt and the tank top.  The only difference I made was to line the skirt with a contrasting fabric, so that I didn't need to enclose the elastic.

Last item to share today- Pajamas!  For the pants and top, I simply drafted a pattern by tracing a rough outline of Barbie® on to paper.  I added seam allowances and was ready to go.  This is definitely one of my favorite creations- it's just so cute to see Barbie® all cozy in flannel pajamas!

Final Details
 Who: For my niece (eventually)

What: I used some of Jess at Craftiness Is Not Optional's tutorials for Barbie® clothes. 

Cost: Nothing... except for the Barbie®.  Ha ha!!  For the rest, I've just been busting through all my scraps of fabric.  Love it!!!

Friday, June 27, 2014

Project #4: Infant Peasant Dress

Who: For another baby shower gift

What: I used the pattern from Sew Much Ado to make the Infant Peasant Dress.  Between her pattern and tutorial, Abby makes it super easy to create this stunning dress.  And it uses hardly any fabric at all, so I was able to buy the fabric for this dress from the remnant bin.  Love that!  Overall, I only made one change and that was to add the band at the bottom of the dress.  I used what I learned while making the Cottage Mama Party Dress to finish the skirt this way.  Oh and I added the flower with some scraps I had around.

Cost: I bought the fabric from the discount bin at Joann's and used some elastic I purchased in bulk.  In total, I think I spent about $1.50 to make this dress (but it could be less).  I'm definitely planning on making more soon.


Saturday, June 21, 2014

Project #3: Tiny Curtsy Skirt

Who: For a baby shower gift

What: I used a tutorial from Sewing in No Mans Land (so many cute kids clothes!!!) to make the Tiny Curtsy Skirt.  Based on the tutorial, I wasn't completely sure how big to make this skirt, so I found a few size charts online and used them as a reference.  Ultimately, I cut 2 strips of fabric 8 x 34 inches (one white and one yellow) that I sewed completely together to make a fully lined skirt.  The original tutorial has them joined at the top and hemmed separately at the bottom which I changed simply because I don't like hemming.  

Cost: I bought a yard of white cotton fabric at the beginning of June and I found the yellow fabric in the discount bin at Joann's.  Altogether, the fabric and elastic (just the amount I used) cost me about $2.50 (maybe less).

Friday, June 13, 2014

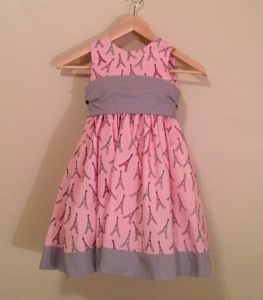
Project #2: Cottage Mama Party Dress


20140613-210809.jpg
Who: For my 3 year old niece

What: I used the pattern and tutorial from Cottage Mama to make this Party Dress. I'm so impressed with this pattern- it's easy to follow, includes a lot of size options and the final result is a very professional looking dress! Love it! The fabric was from Hobby Lobby's spring line.

Cost: I spent about $20 to make this skirt. The fabric was more than I expected, but it was pink and has sparkly Eiffel Towers on it (hard to see in the pic, but cute in person). I also had to buy the gray fabric and buttons for the back. But the results are totally worth it!

Friday, May 23, 2014

Sew Cheap Summer Challenge

This post has been percolating in my mind for about a month.  I have a long list of {mostly} sewing projects I've been wanting to tackle and, now with summer coming, I should have the time to complete some of them.  I've learned, though, that all this crafting can quickly become expensive.  My personal challenge this summer is to satisfy this need to create and to do it as frugally as possible.  I'm calling it the Sew Cheap Summer Challenge! 
I'll be working hard to try out all those fabulous sewing and crafting pins I've collected and to use up as much as possible of the fabric and craft items I've been collecting.  Of course, I'll probably need to buy more :)  But in staying with the hope of being frugal, I am giving this challenge a budget of $100 total... for 3 months of sewing and crafting!  Will you join me?

Tuesday, May 20, 2014

When the Elephant Walks

Book Quote
I love the idea of giving books to children.  When the Elephant Walks is creative and funny.  I love the illustrations.  It'll be the perfect book to go along with this elephant plushie.  Together, these are headed off for a special little guy's birthday.

20140510-164956.jpg

Saturday, May 17, 2014

Making Baby Doll Clothes

photo-12Who: For a dear friend's daughter.
What: I used the patterns and tutorials from The Blueberry Moon's Nakey Baby series to make these.

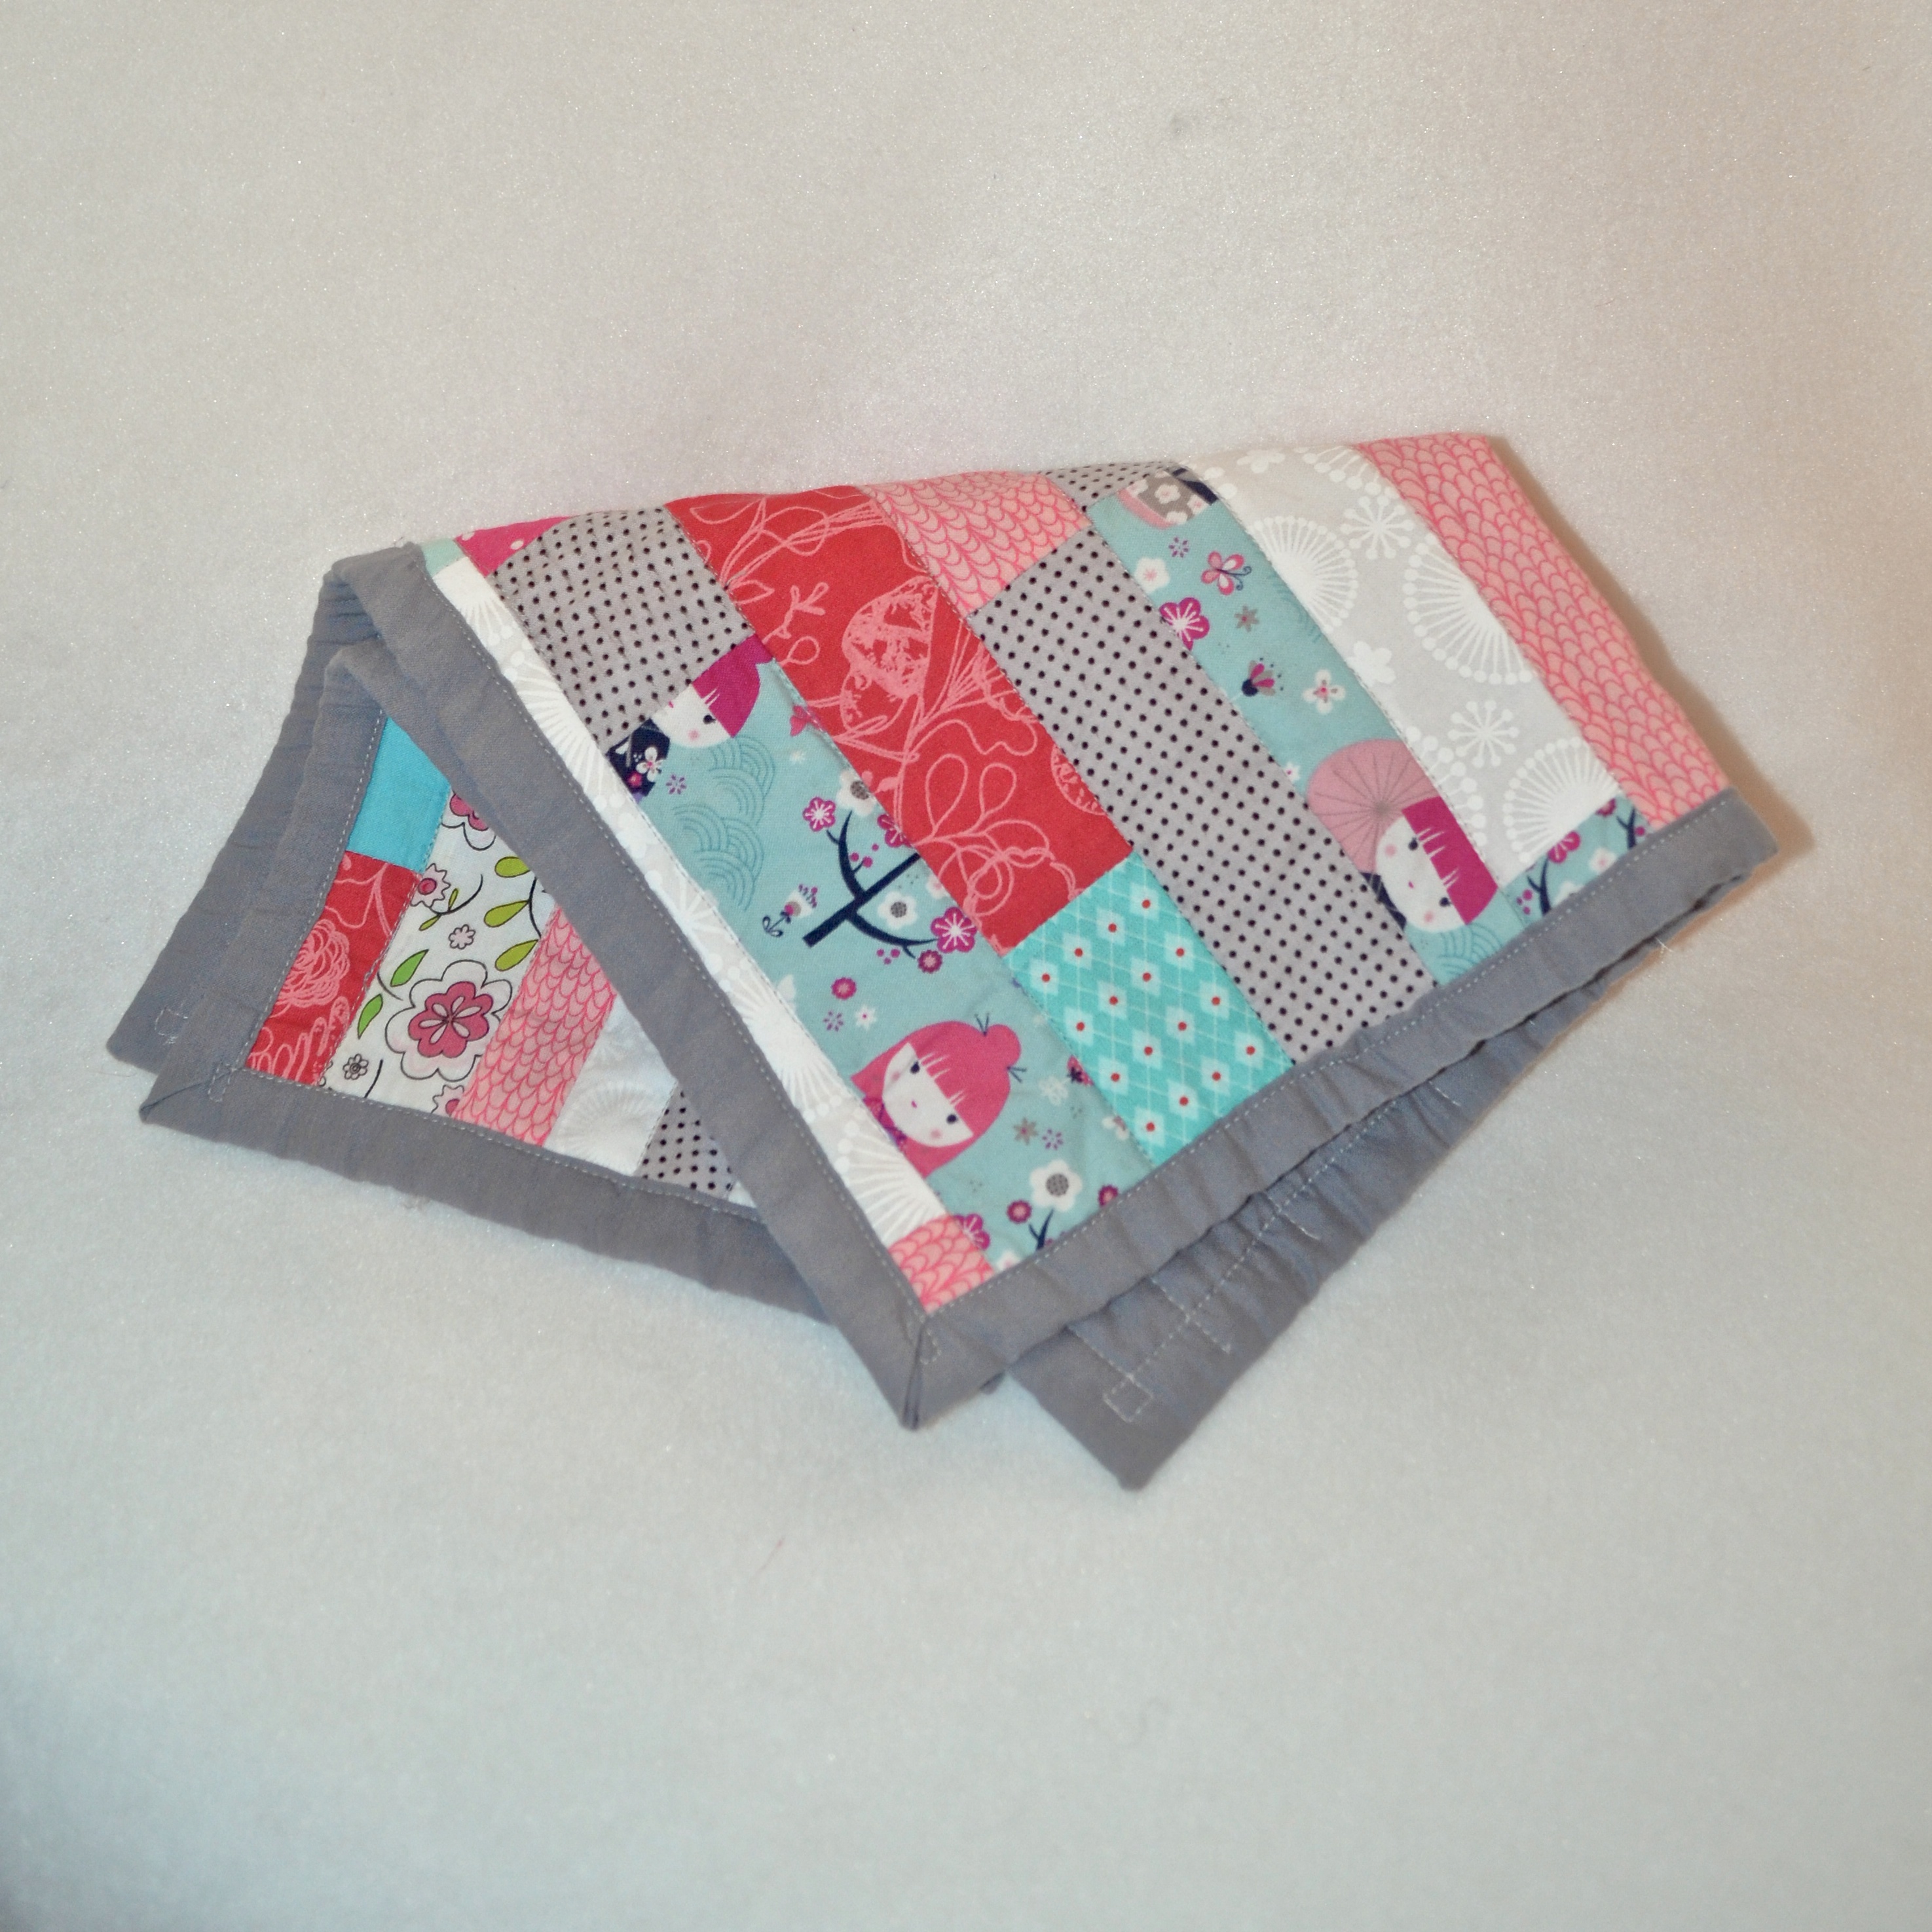
I searched high and low to find free patterns for Bitty Baby doll clothes to make.  Blueberry Moon's tutorial seemed easy to follow and looked super cute. In the end, I used a copy machine to blow the pattern up slightly.  The blanket used up scraps from making the doll clothes.
I would definitely make these again.